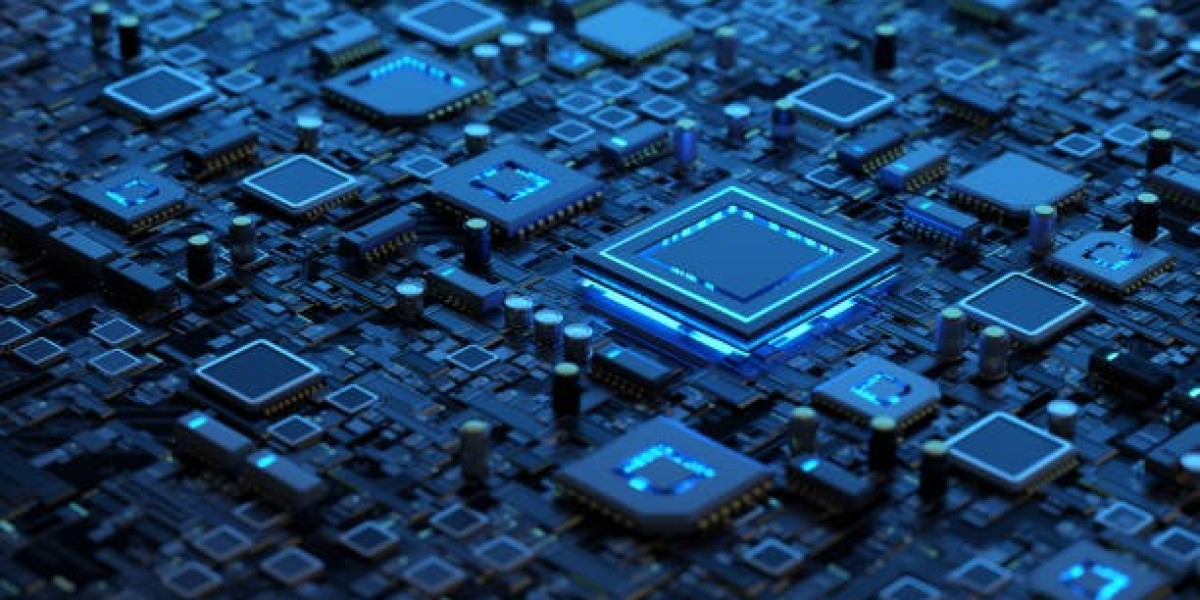
When it comes to PC building or maintaining a computer, the motherboard is one of the most crucial yet overlooked components. It serves as the backbone of your system, connecting your CPU, RAM, GPU, storage devices, and other peripherals. But like any other piece of hardware, motherboards can run into problems. Knowing how to approach issues can save you time, money, and the frustration of dealing with an unresponsive system.
In this article, we’ll cover faulty motherboard symptoms, methods to diagnose them, and practical steps you can take to restore your PC to working order.
Why the Motherboard Is So Important
The motherboard is essentially the communication hub of your computer. It ensures all hardware components interact smoothly. Any failure in this component can lead to issues such as system crashes, failure to boot, or even a complete hardware shutdown. Since replacing a motherboard can be costly and time-consuming, learning to troubleshoot effectively is a skill every PC enthusiast should develop.
We emphasize the importance of understanding the root cause of tech issues before rushing into replacements.
Common Motherboard Problems
When dealing with troubleshooting motherboard issues, you’ll often encounter one or more of the following:
No Power or No POST (Power-On Self-Test):
The system does not start, or there’s no display output.
This could be due to faulty power connectors, a dead motherboard, or even short circuits.
Frequent Crashes or Blue Screens (BSODs):
Random system crashes may point toward failing capacitors, poor power delivery, or overheating.
Hardware Not Recognized:
Sometimes RAM, GPU, or storage devices are not detected. This could stem from dirty or damaged slots, outdated BIOS, or incompatible components.
Burning Smell or Physical Damage:
If you detect a burning smell, the motherboard might have shorted out. Visual inspection often reveals swollen capacitors or scorch marks.
Beep Codes and Diagnostic LEDs:
Many motherboards provide beep codes or LED indicators to help identify the specific faulty component.
Step-by-Step Guide to Troubleshooting Motherboard Issues
Here’s a structured process to diagnose and resolve problems:
1. Check Power Connections
Ensure that both the 24-pin ATX power connector and the 8-pin (or 4-pin) CPU power connector are properly seated. Loose connections are one of the most common causes of boot failures.
2. Inspect for Physical Damage
Look closely at capacitors, chips, and connectors for burns, swelling, or bent pins. If you find visible damage, the motherboard may need repair or replacement.
3. Clear the CMOS/Reset BIOS
A corrupted BIOS setting can prevent your system from booting. Resetting the CMOS battery or using the motherboard’s dedicated reset jumper often resolves boot loops.
4. Test with Minimal Components
Strip down your system to the essentials: CPU, one stick of RAM, and the power supply. Remove GPU and storage drives temporarily. If the motherboard boots with minimal components, the issue may be with another device.
5. Check RAM and GPU Slots
Re-seat memory and graphics cards to ensure they’re making proper contact. Sometimes, simply moving RAM to a different slot can fix the issue.
6. Update BIOS
If your hardware is not being recognized, updating the BIOS to the latest version can improve compatibility with newer CPUs or memory modules.
7. Swap and Test Components
If possible, test with another known-working power supply, RAM, or GPU. This helps confirm whether the issue is truly with the motherboard.
Preventing Motherboard Problems
Prevention is always better than cure. Here are a few best practices to reduce the risk of future issues:
Keep Your System Clean: Dust buildup can lead to overheating and short circuits.
Use a Quality Power Supply: A reliable PSU prevents electrical surges that can damage your board.
Avoid Static Damage: When working inside your PC, always ground yourself to prevent electrostatic discharge.
Update BIOS Responsibly: Only update your BIOS when necessary to avoid potential risks.
When to Replace Your Motherboard
Sometimes, no amount of troubleshooting motherboard techniques will revive a dead board. You may need to replace it if:
It shows visible burn marks or physical damage.
It fails to power on despite verified working components.
The BIOS is corrupted beyond recovery.
Repair costs outweigh replacement.
At this point, upgrading to a newer platform (like AMD AM5 or Intel’s latest chipsets) might be a smarter long-term investment.
Final Thoughts
Motherboard issues can be tricky, but with systematic diagnosis, many problems can be fixed without replacing the entire board. From checking connections to resetting the BIOS and testing with minimal components, you can often pinpoint the culprit with patience and the right approach.
At Technology Drifts, our goal is to simplify these complex topics so that both beginners and experienced PC builders can troubleshoot effectively. Whether you’re a gamer, a professional, or just someone who wants their computer to run smoothly, knowing how to handle motherboard issues is an invaluable skill.


