Introduction
Embroidery digitizing stands at the heart of every quality stitching project, but the path you choose—custom or auto-digitizing—can dramatically impact your results, timeline, and budget. While auto-digitizing promises quick turnarounds and lower upfront costs, custom digitizing offers precision and professional finishes. The right choice depends on your specific needs, project requirements, and long-term business goals.
In this comprehensive comparison, we'll analyze both methods across key factors like time investment, material costs, quality outcomes, and when each approach makes the most financial sense. Whether you're a hobbyist working on personal projects or a business owner fulfilling client orders, you'll discover which method truly saves you time and money in different scenarios.
Understanding the Two Approaches
What Is Auto-Digitizing?
Auto-digitizing software automatically converts images into embroidery files by:
Analyzing colors and shapes
Applying preset stitch patterns
Generating machine instructions
Requiring minimal user input
What Is Custom Digitizing?
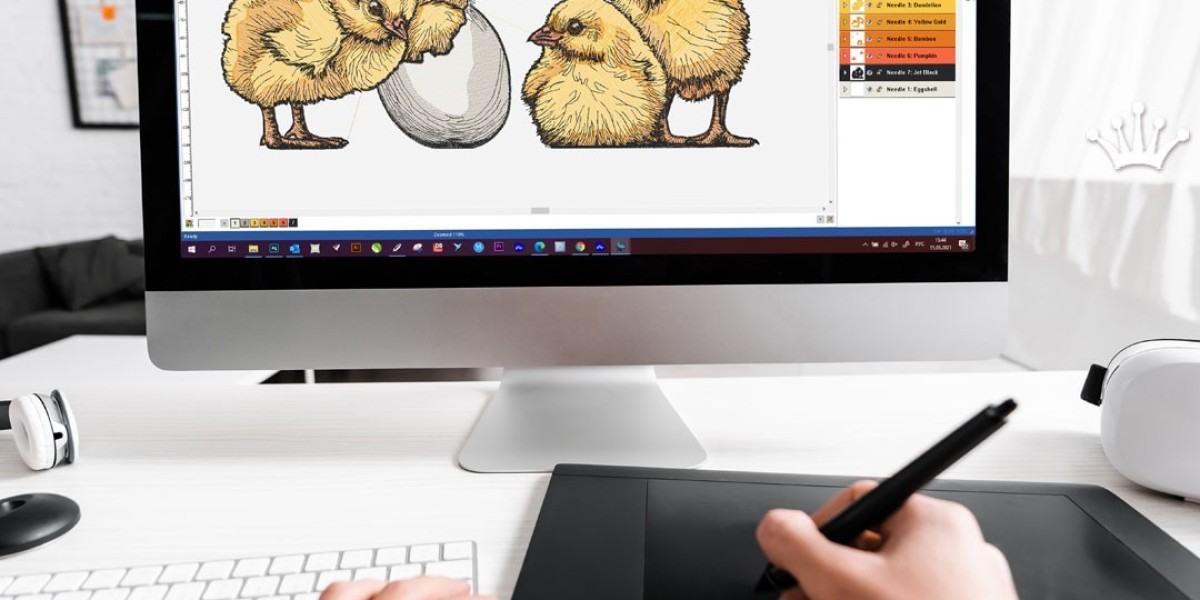
Professional digitizers manually create designs by:
Strategically planning stitch types
Precisely placing each stitch
Optimizing for specific fabrics
Adjusting for perfect registration
Time Investment Comparison
Auto-Digitizing Timeline
Typical workflow:
Image preparation (5-15 minutes)
Software processing (2-5 minutes)
Quick cleanup (5-10 minutes)
Test stitch (15-30 minutes)
Total: 30-60 minutes per design
Custom Digitizing Timeline
Professional process:
Client consultation (15-30 minutes)
Manual digitizing (1-3 hours)
Quality checks (15-30 minutes)
Test stitch and revisions (30-90 minutes)
Total: 2-5 hours per design
Cost Breakdown
Auto-Digitizing Expenses
Software costs: $75-$1,000
Material waste from test stitches: $5-$15 per attempt
Time investment: Your hourly rate × 0.5-1 hour
Custom Digitizing Fees
Professional services: $25-$150 per design
Typically includes test stitch
No software investment needed
Quality Differences
Auto-Digitizing Results
Common characteristics:
✓ Faster turnaround
✓ Adequate for simple designs
✓ May require multiple test stitches
✓ Limited stitch optimization
Custom Digitizing Outcomes
Professional advantages:
✓ Perfect stitch registration
✓ Fabric-specific optimization
✓ Minimal material waste
✓ Professional finish
When Auto-Digitizing Wins
Best Use Cases
These projects work well with auto-digitizing:
Simple text-based designs
Basic shapes and logos
Personal/hobby projects
Quick prototypes
Cost-Effective Scenarios
Auto makes financial sense when:
You have small batches (1-5 items)
Designs contain ≤3 colors
Using stable, medium-weight fabrics
Quality expectations are moderate
When Custom Digitizing Pays Off
Projects Worth the Investment
Custom excels with:
Company logos and branding
Products for retail sale
Complex multi-color designs
Delicate or specialty fabrics
Long-Term Savings
Custom saves money through:
✔ Fewer wasted materials
✔ Higher product value
✔ Reduced customer returns
✔ Brand consistency
Hybrid Approach: Best of Both Worlds
Many professionals combine methods:
Start with auto-digitizing
Manually optimize problem areas
Use templates for recurring elements
Only custom digitize critical designs
Material Waste Comparison
Auto-Digitizing Risks
Typical waste per design:
1-3 test stitch attempts
2-4 ruined final products
$10-$40 in materials
Custom Digitizing Efficiency
Professional results:
90% success on first stitch
Rarely more than one test
Minimal production waste
Hidden Costs to Consider
Auto-Digitizing Surprises
Often overlooked expenses:
Software learning curve
Upgrade fees
Technical support needs
Computer hardware requirements
Custom Digitizing Extras
Potential added value:
Design consultation
Multiple file formats
Version control
Long-term file storage
Productivity Impact
Output Volume
Auto: 5-10 simple designs daily
Custom: 1-3 complex designs daily
Scaling Your Business
Growth considerations:
Auto works for small batches
Custom enables premium pricing
Hybrid suits expanding operations
Making Your Decision
Choose Auto-Digitizing If...
✓ You're starting out
✓ Budget is tight
✓ Designs are simple
✓ Time is limited
Invest in Custom If...
✓ Selling products
✓ Building a brand
✓ Using delicate fabrics
✓ Quality is critical
Future-Proofing Your Choice
Auto-Digitizing Evolution
Emerging improvements:
AI-assisted optimization
Better stitch algorithms
Fabric-specific presets
Custom Digitizing Advancements
New professional tools:
3D stitch previews
Cloud collaboration
Automated QA checks
Conclusion
The auto vs. custom digitizing decision ultimately depends on your specific needs. While auto-digitizing offers apparent short-term savings for simple projects, custom digitizing proves more cost-effective for professional applications through superior quality and reduced waste.
For most businesses, we recommend:
Using auto-digitizing for prototypes and simple designs
Investing in custom digitizing for products and branding
Developing a hybrid approach as skills improve
Remember that as your embroidery needs grow, your approach can evolve. Start where it makes sense for your current projects, and scale up your digitizing methods along with your business.


